GOMACO World Index --- GOMACO World 34.2 - October 2006
Barrier Slipforming Tips And Proper Vibrator Placement
By Dennis Clausen, GOMACO University Director of Training
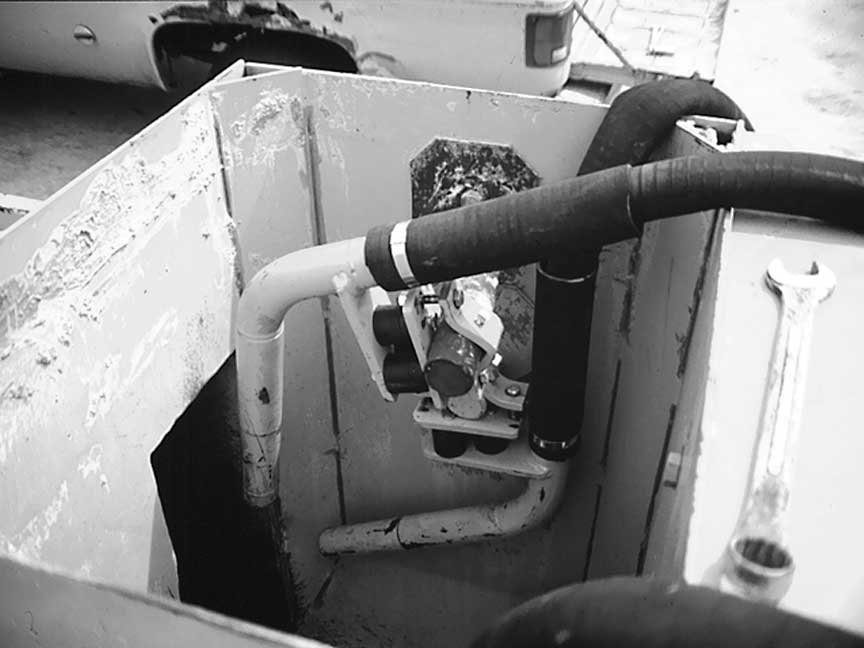
Photo #1 – Placing your vibrators
Concrete mix design, concrete slump, wall size and vibrator placement all have an effect on the final product when paving barrier wall. Vibrator positioning is critical to good consolidation (Photo #1). Curved vibrators are normally used for standard barrier and parapet wall. The vibrator in the bottom of a parapet form is normally installed in the underslung or horizontal manner with the tip centered in the width of the wall and approximately six inches (152 mm) up from the base. Two vibrators can be placed in the bottom of the form in the same manner if the wall is of the standard design. Each vibrator should be positioned four to six inches (102 to 152 mm) in from the corresponding edge and approximately six inches (152 mm) up from the base. A third vibrator is normally positioned in the underslung manner in the center of the wall. A final vibrator is positioned in the overslung or vertical manner with the tip tilted slightly rearward and centered in the opening. The vibrators should be positioned to one side so they clear the steel by a minimum of one inch (25 mm) if pouring over cage steel.
Straight vibrators are often used to eliminate the hose congestion in the hopper when a variable height barrier wall is being poured (Photo #2). The size of the wall will determine the total number of vibrators required. All of the vibrators can be mounted in the hopper with smaller walls. Evenly space the vibrators to get the best consolidation of the concrete. This ensures the wall is thoroughly vibrated from top to bottom. The mounting brackets are all attached to the rear wall of the hopper, reducing the amount of congestion in the hopper.
A special mounting box is installed in the sideplate (Photo #3) if the variable barrier wall requires the sideplate to extend below the bottom of the standard vibrator mount position. The vibrator is inserted through the rubber seal at the top of the box and extended into the hopper area. The hoses are externally routed to the vibrator connection point. Make certain that there is enough slack in the hoses to allow the sideplate to move up and down the full extension.
The sensors are normally mounted under the machine when pouring parapet wall (Photo #4). The machine is usually operated with left grade, right slope. The front sensors are normally positioned to the rear of the left, front track and the rear sensors are positioned to the front of the rear track. Special mount brackets are available for mounting the sensors under the machine.
They should not be mounted to the right of the slope sensor when the sensors are mounted under the machine. The machine may become unstable and sensor “cross talk” may occur if the elevation sensors are mounted too far to the right.
The form is normally equipped with tubes to guide the steel into the proper position when continuous reinforcing steel is being inserted into the wall (Photo #5). The tubes should extend back into the hopper no more than half way. The vibrators may not be able to close the opening around the steel created by the tubes if the tubes extend too far into the hopper. Stagger the over-lapping ends so that no more than two or three are going through at any one time when feeding several pieces of steel into the wall simultaneously.
It is important that nothing or no one comes in contact with the stringline when pouring wall (Photo #6). If it is necessary to repair the top of the wall, it is recommended to clamp a straight form in place on each side of the wall before attempting to repair it. The top line of the wall may sap each time it is touched if attempts are made without forms. It is also important to keep the machine moving.
It is recommended to fill the hopper completely before the last truck is empty if the machine must stop to wait for concrete. Move the machine forward 12 to 24 inches (305 to 610 mm) every five to 0 minutes to keep the concrete from sticking in the form depending on the temperature. It may begin to harden if the concrete is allowed to sit too long in the form.
The wall may tear and pull when pouring resumes. It is recommended to turn the vibrators to maximum to help in freeing the concrete before moving the machine after waiting. Reduce the vibrator speed as necessary after the machine is moving. The wall should be slipped with little to no handwork required if everything is properly set up and the concrete mix is correct (Photo #7). All that may be necessary is to give the wall a broom finish and then coat it with curing compound.
Refer to the operator’s manual for your particular machine for more detailed setup and operating procedures.
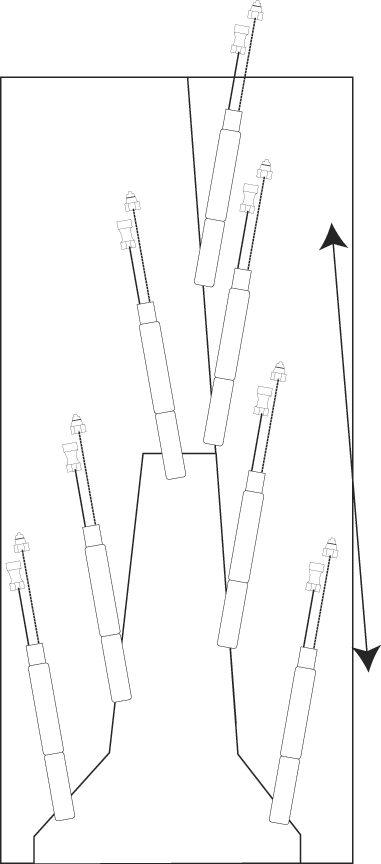
Photo #2 –
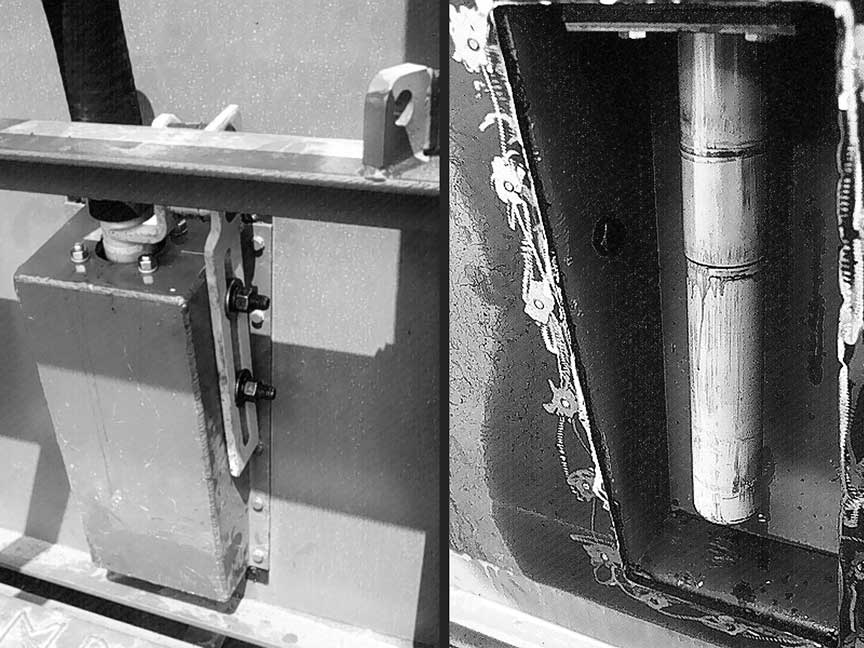
Photo #3 – Special mounting box shown outside (left) and inside (right) the mold
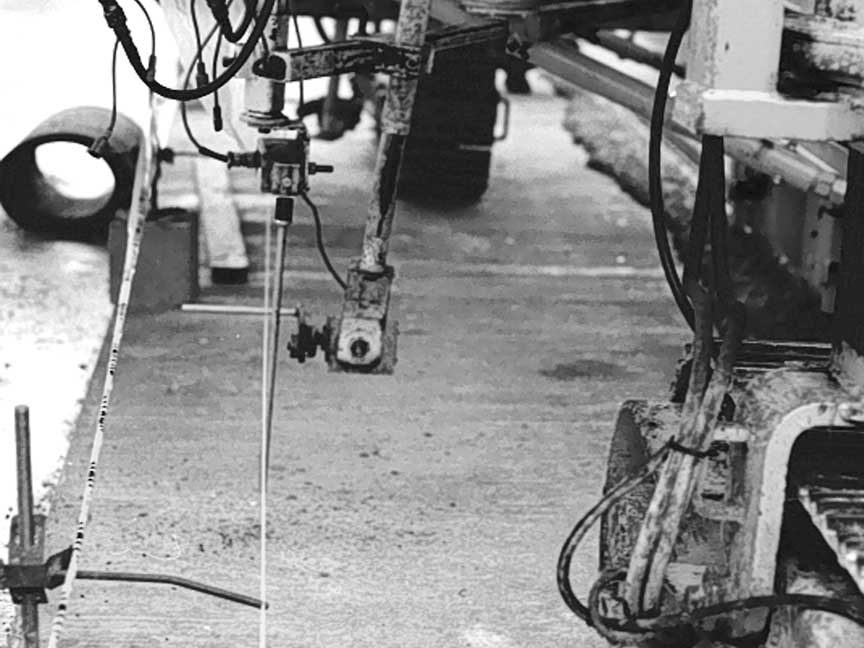
Photo #4 – Mounting the sensors
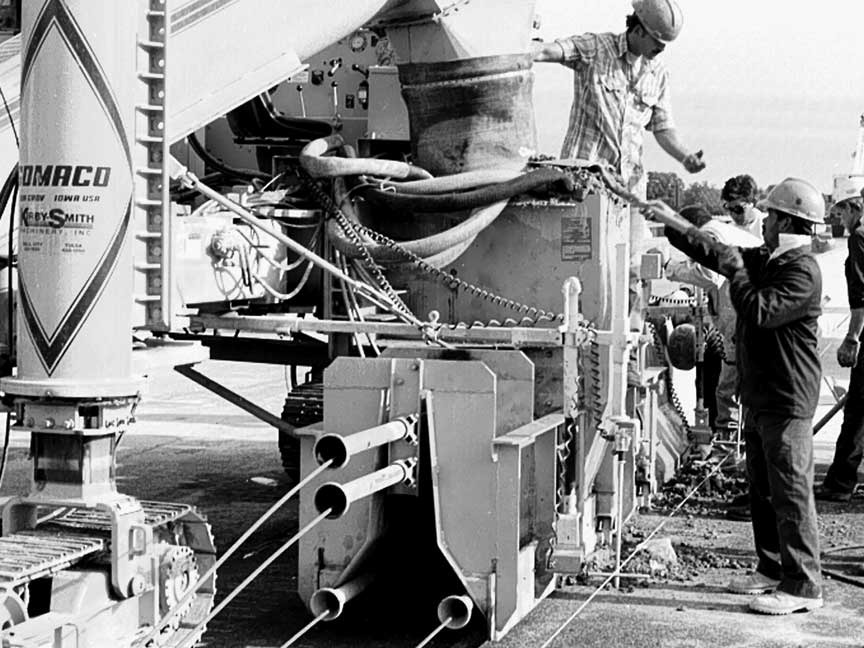
Photo #5 – Continuous reinforcing steel
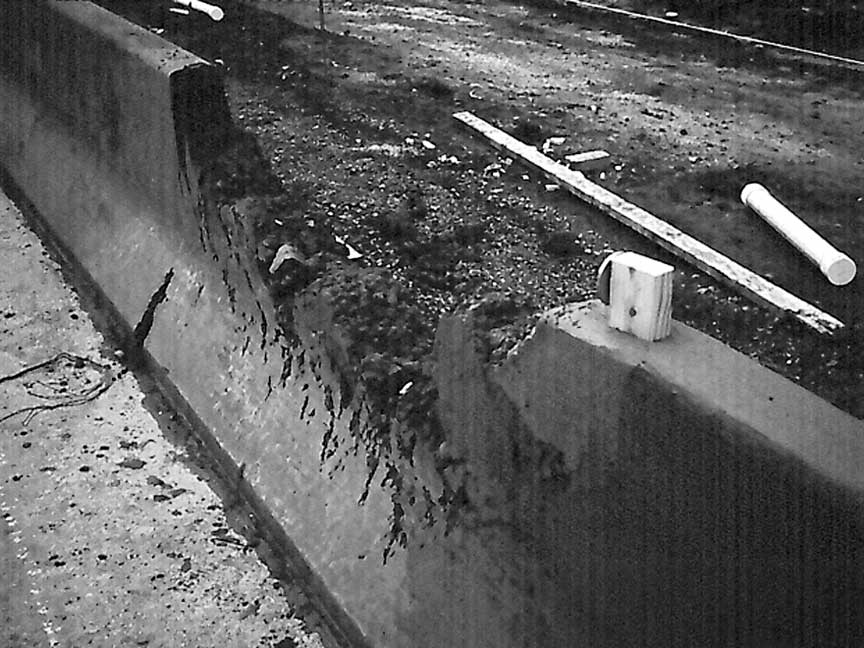
Photo #6 – Take precaution to avoid disaster
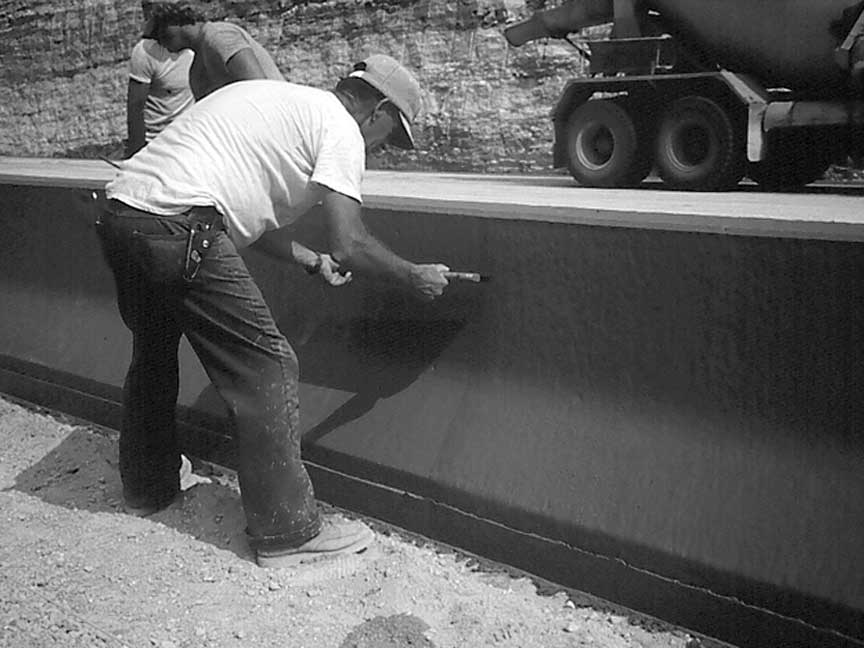
Photo #7 – Little to no handwork required
Subscribe to Receive GOMACO World Magazine